Block View allows you to view all of your IPv4 Blacklist Monitors, neatly grouped into /24 blocks. This way you can quickly find your most blacklisted blocks, or your cleanest blocks; and you can have a fast overview of the status of your IPv4 stock.
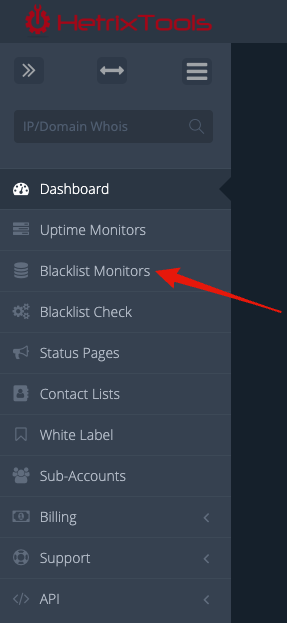
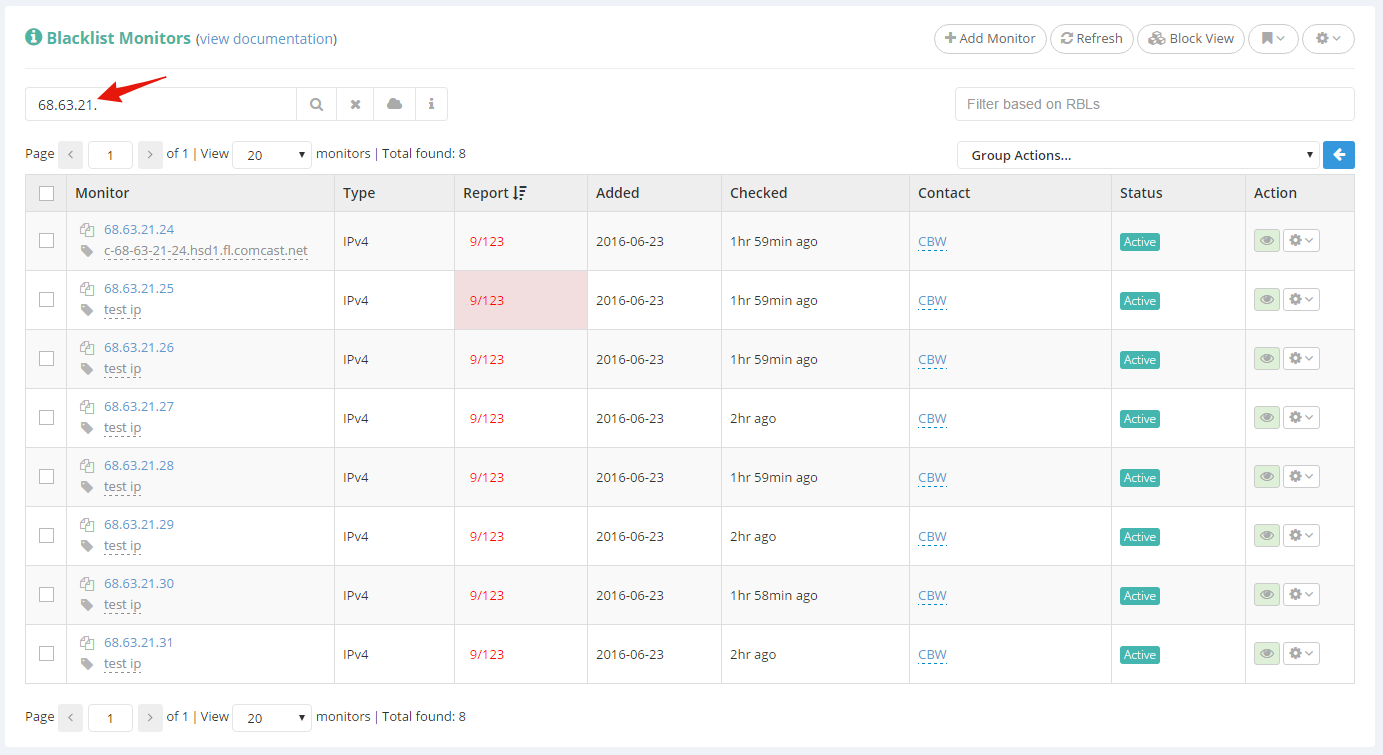
To begin, go to your Blacklist Monitors list from the top menu on your account dashboard:
On this page, find and click the “Block View” button in the top right corner of your work area:
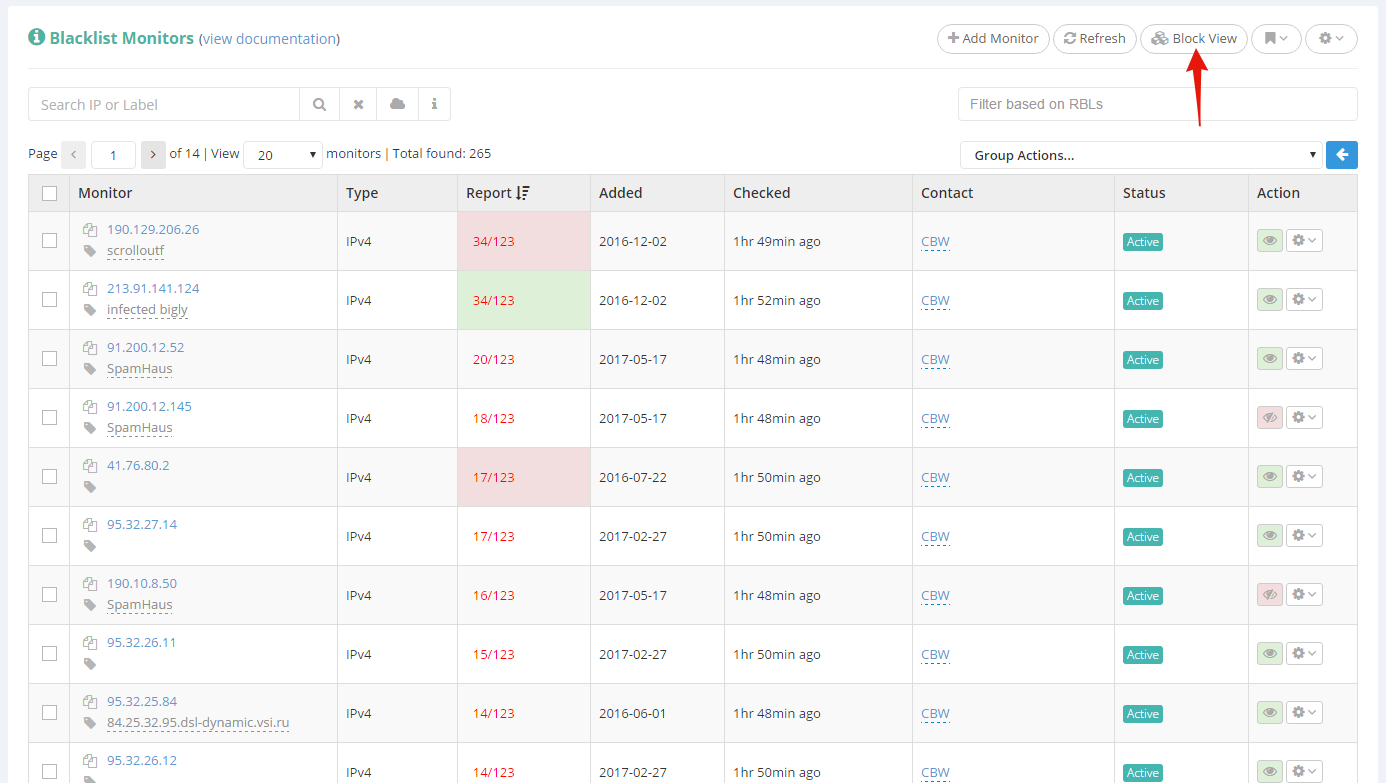
*Based on the number of Blacklist Monitors that you have in your account, this procedure may take a few seconds to process and load up.
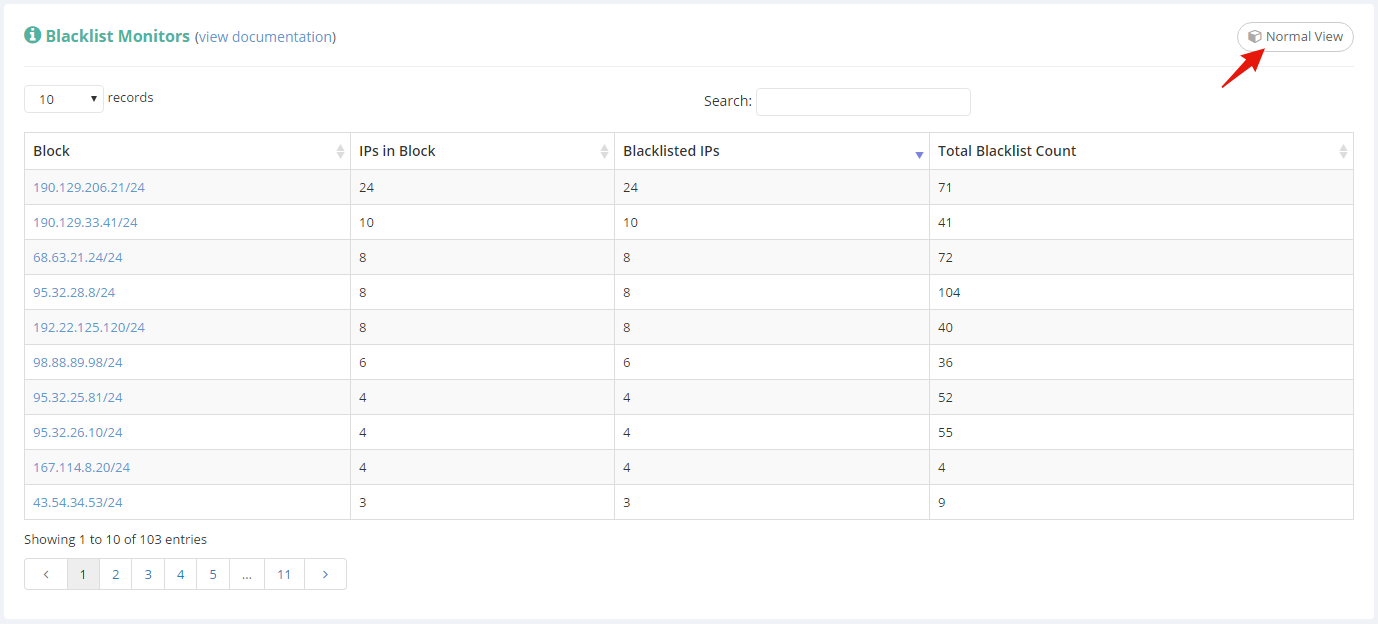
You will then notice that the Blacklist Monitors list has been converted into a Block View list:
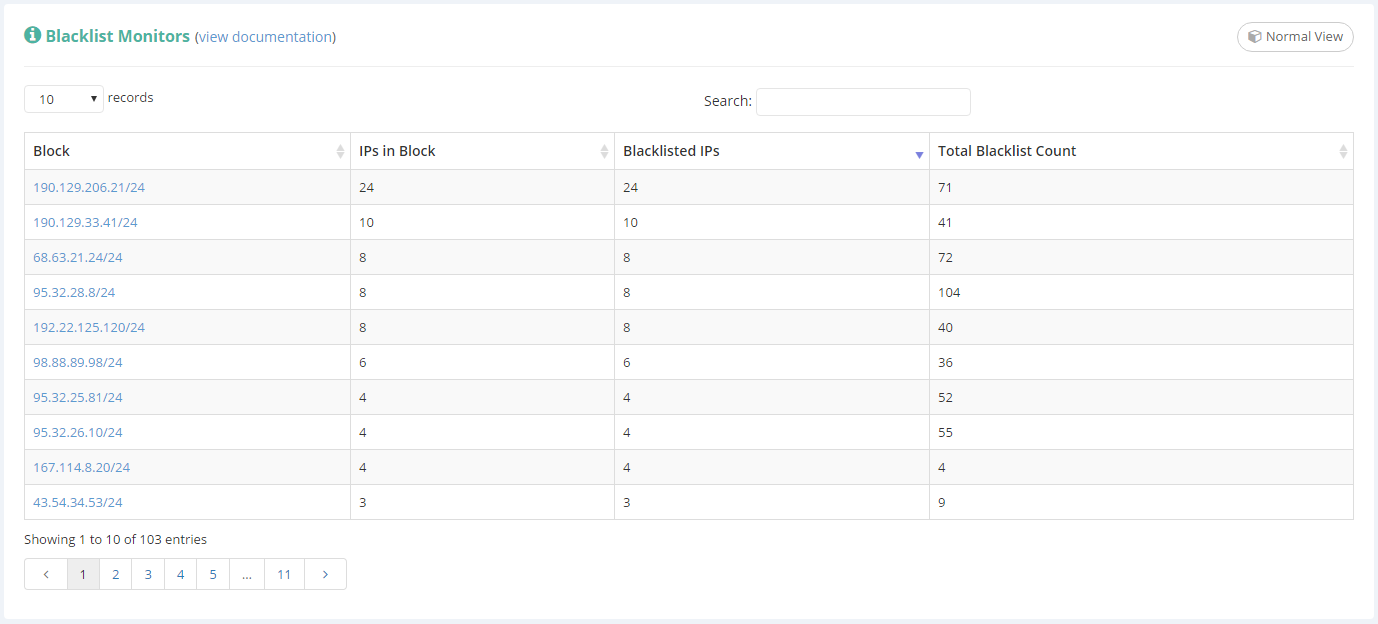
*The interface is still a work in progress for the Block View.
The table headers are pretty self-explanatory, but here’s some more info in case you may need it:
- Block – is the /24 block of IPs (containing just the IPs that you are monitoring from that block).
- IPs in Block – represents the number of IPs that you are monitoring from that /24 block.
- Blacklisted IPs – represents the number of blacklisted IPs in that /24 block.
- Total Blacklist Count – represents the number of total blacklists found on the IPs in that /24 block.
You can sort the table by any of these columns, ascending or descending, by simply clicking the column header.
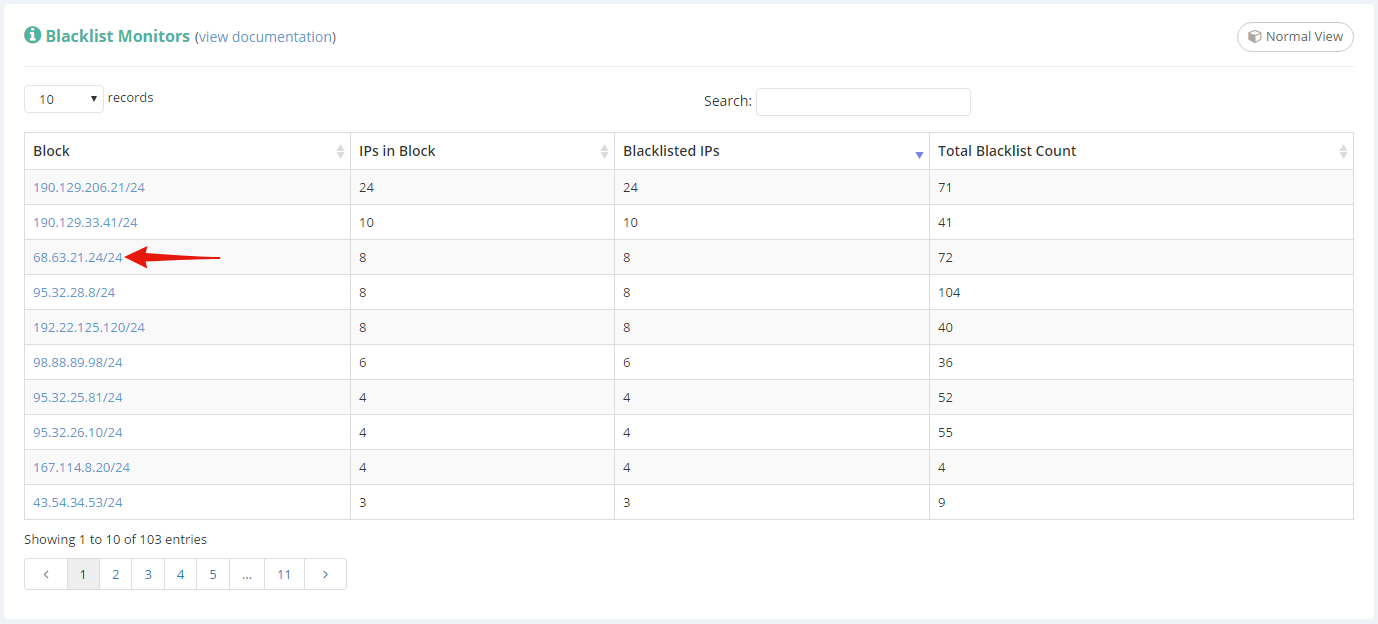
Clicking an IP block in the “Block” column will take you back to the Normal View, showing only the IPs in that /24 IP block.
Another way of returning to the Normal View mode would be to click the “Normal View” button that can be found in the top right corner of the Block View window:
Please note:
- Only IPv4 monitors are currently being grouped and can be seen in Block View.
- If you have a large number of IPv4 blacklist monitors (i.e.: over 30k), processing the Block View request can take a few seconds.