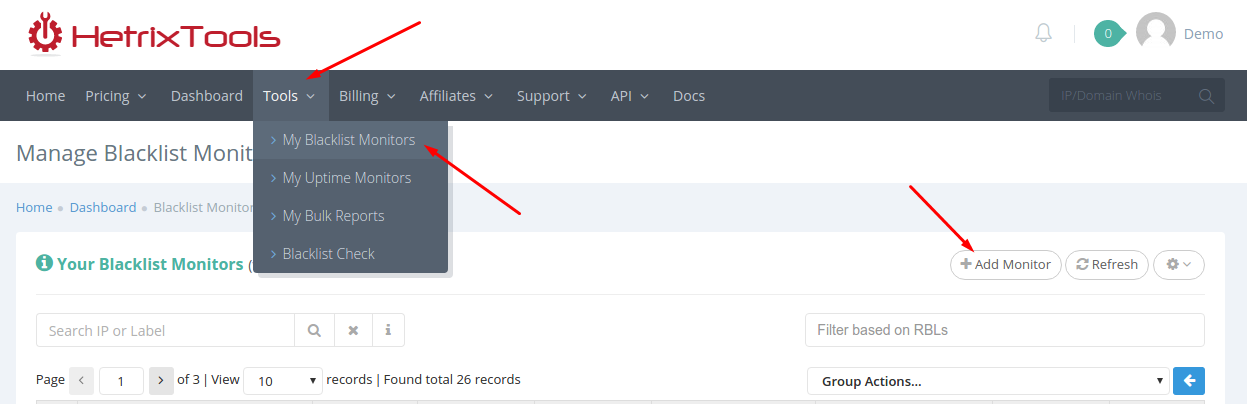
Start by heading to your Blacklist Monitors page.
If you have IP ranges which need to be monitored, you don’t have to add each IP individually, you can simply add an entire range, all at once, as shown in the image below.
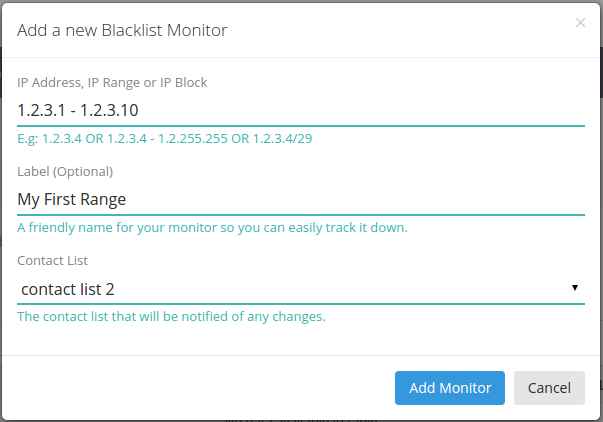
If your range contains an IP address which you’re already monitoring, then that IP address will not be inserted again, it will simply be skipped, since you cannot monitor the same IP twice.
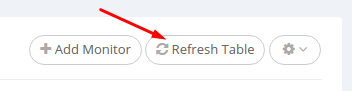
Now that you’re done adding the IP range to the blacklist monitors list, you can refresh the table to see the new changes.
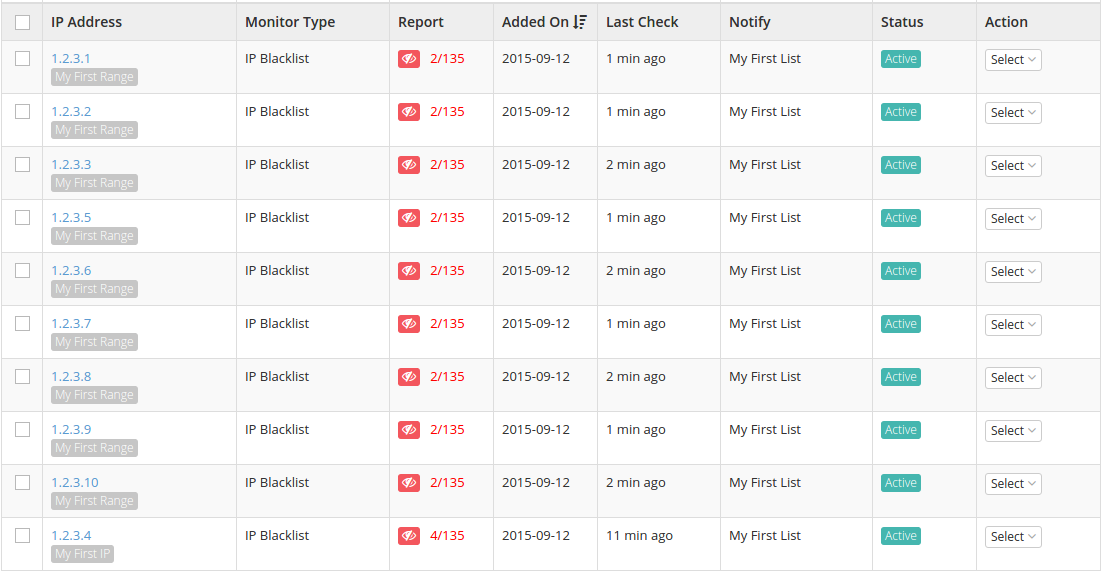
It will take some time to process your IP range, depending on its size and your account’s queue priority. Once the processing is finished for all of your newly added IPs, the list should look like this.