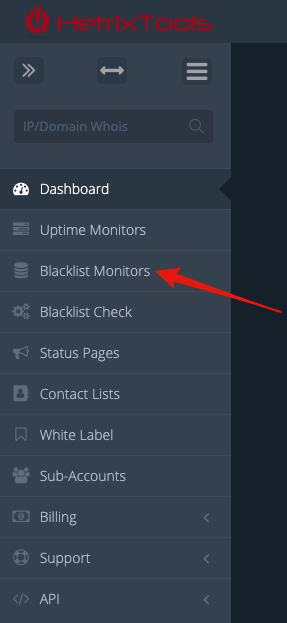
We’ll get things started by adding a simple IP to your blacklist monitor list. In order to do this, go to the “Blacklist Monitors” page in your client area:
Locate and click on the “Add Monitor” button:

A pop-up window will appear.
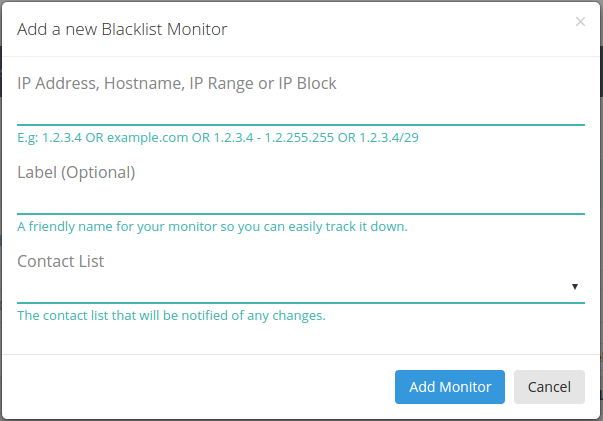
Proceed by adding the desired IP address to be monitored and a friendly label name for your IP, and pick one of your contact lists to be notified if any changes are detected for this IP address. Finally, click the “Add Monitor” button.
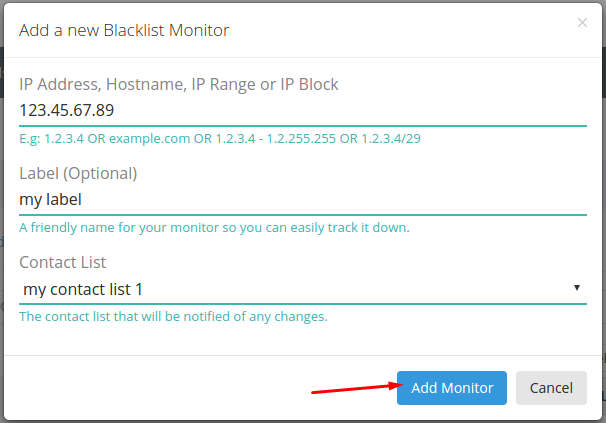
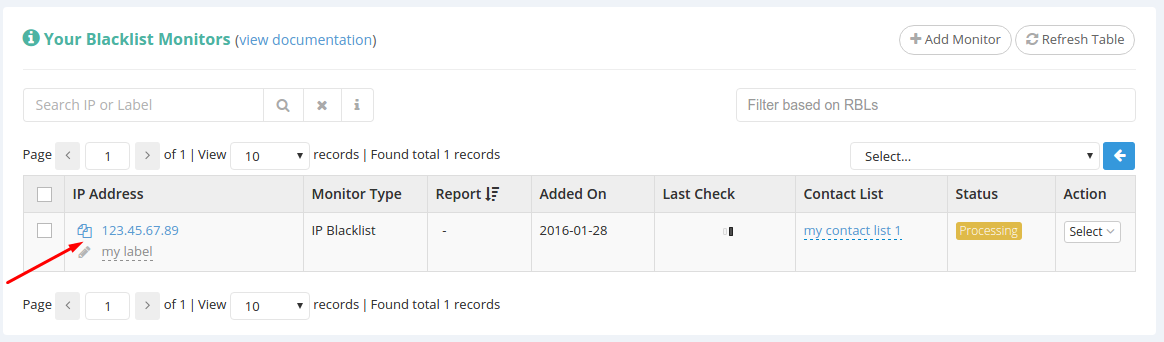
Once you do that, the IP will instantly be added to your blacklist monitors list and will be queued for processing.
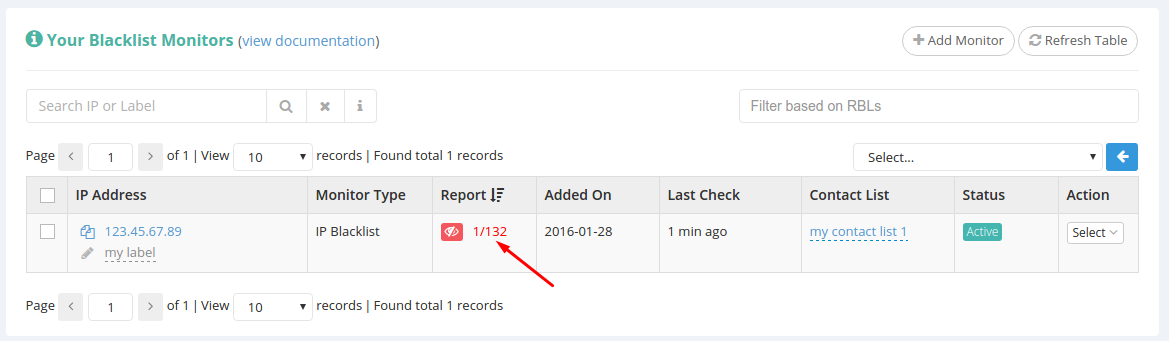
You can use the “Refresh Table” button to refresh your blacklist monitors list to check when it has finished processing. While one or more IPs are being processed, the Blacklist Monitors table will also auto-refresh every 5 seconds.
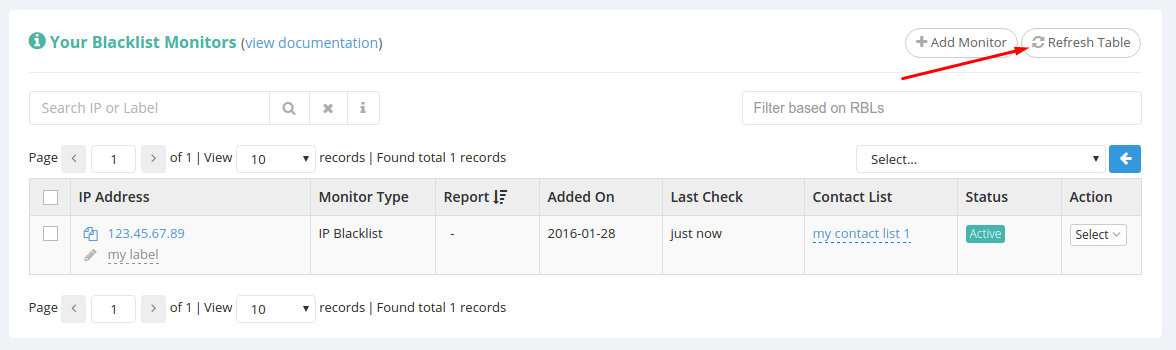
Once your newly added IP has finished processing, you can see it as shown in the image below, and you’ll be able to access the report link.