This feature allows you to create account-wide agent install templates. By saving up the agent install options once, into a template, you can easily reuse these options for future agent installs on new servers.
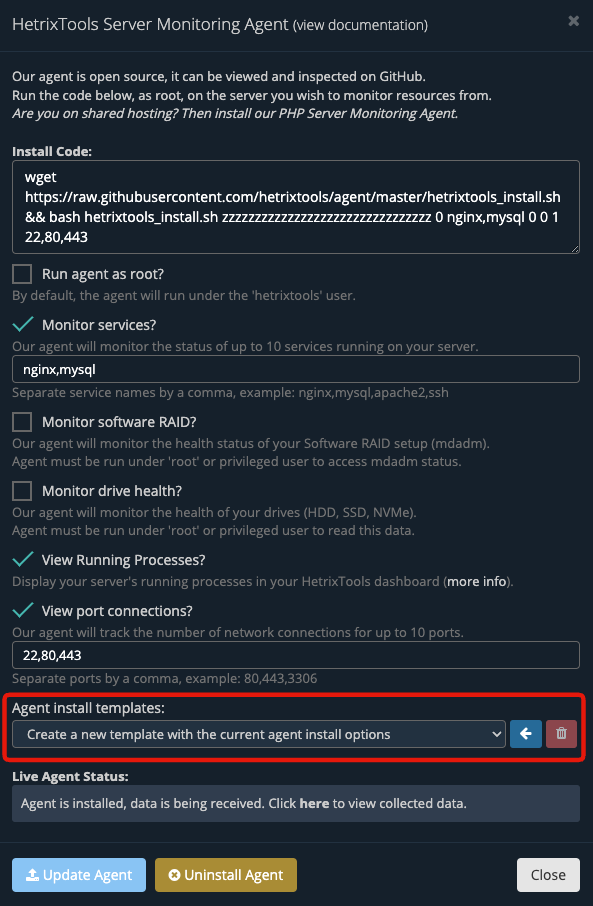
The agent install templates are found at the bottom of the pop-up modal when installing our Linux Server Monitoring Agent:
Creating a template
Once you’ve made your selection of installation options, just select “Create a new template with the current agent install options” and hit the blue button next to it:

This will open up a new field where you’ll have to give the template a name, and then click on the ‘Create’ button:

And that’s it. Your agent install options have now been saved to this new template, which you can use for future agent installations on new servers, as shown in the next chapter of this guide.
Using a template
Now that you’ve saved your templates, you’re ready to start using them when installing the agent on new servers.
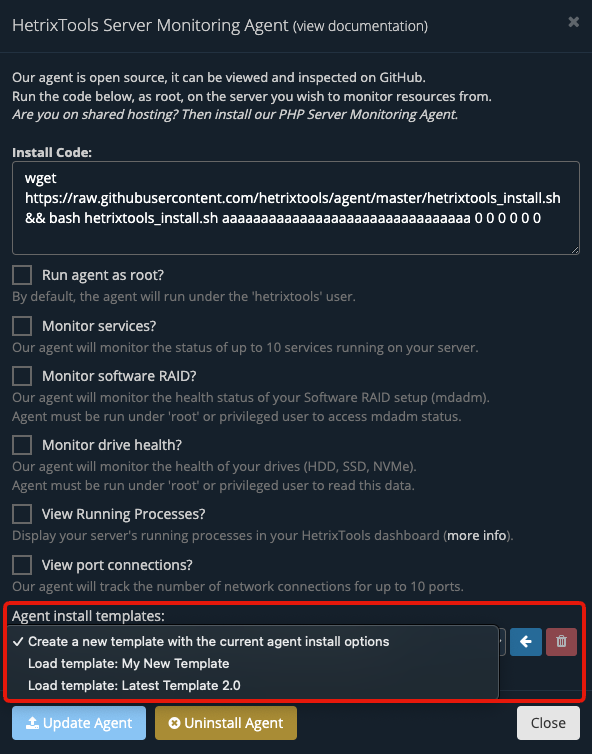
Start the agent installation process as usual, but now you can find your saved templates at the bottom of the installation window.
Simply select the template you wish to use, and the install options will be automatically filled out:
Then, you’re ready to copy/paste the installation code into your terminal to install the agent.
Deleting a template
If you wish to get rid of some of your unused templates, you can easily delete them by using the trashcan button next to the template name.
Start by selecting the template you wish to delete, and then click on the trashcan button:
