Before you begin, please note that you will need a Microsoft Account to log into, so if you don’t already have one, be sure to create one before proceeding with this guide.
Start off by going to the Microsoft Outlook SNDS “Request Access” page:
https://postmaster.live.com/snds/addnetwork.aspx
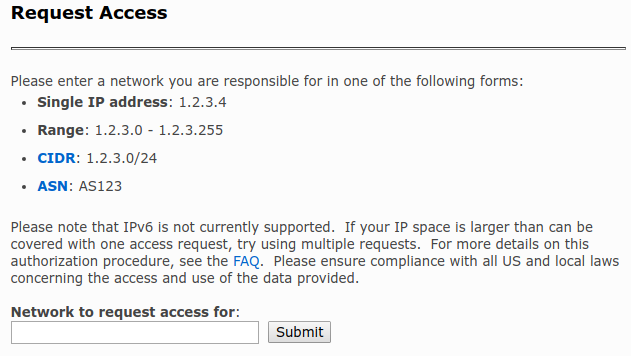
Add your IP address, or IP range, or IP block, or ASN into the box as instructed on the page.
(if you aren’t already logged into your Microsoft Account, you will be asked to log in when clicking the “Submit” button)
You will then need to follow the steps described on the website in order to confirm that the IPs that you’re adding belong to you.
You will need to select an email address from the IP whois info, where you will receive a confirmation email from Microsoft in order to verify that you are the person or institution owning the IP address.
Once you finish the confirmation procedure, the IPs will be added to your SNDS account, and you will be able to see their standing in regards to the Outlook reputation system.
Continue reading how to enable Automated Data Access to your Microsoft SNDS account:
https://docs.hetrixtools.com/enable-automated-data-access-for-your-microsoft-outlook-snds-account/