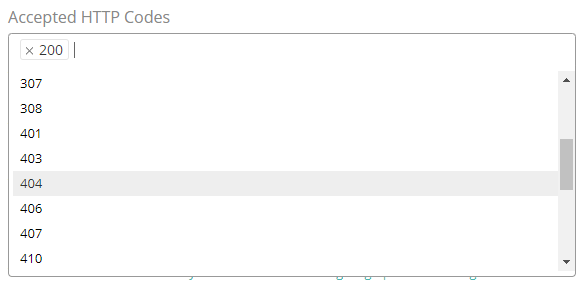
Our Uptime Monitoring system allows you to select certain HTTP codes that will be accepted as an ‘OK’ response when checking the status of your website.
If your website returns any of these selected HTTP codes, our system will consider your uptime monitor as being online (having a healthy status), even if the returned HTTP code is not a healthy code (ie: 404, 503, etc).
By default only the HTTP 200 code is accepted as valid by our platform.
To configure the ‘Accepted HTTP Codes’ for your monitors, start by going to the ‘Uptime Monitors’ page in your client area, from the top menu:

Select to edit any of your Website Uptime Monitors:

And then, select ‘show advanced settings’ towards the bottom of the pop-up window:

This will open up your Uptime Monitor’s advanced settings, where you can find, towards the top, the ‘Accepted HTTP Codes’ section:

You can now select all of the HTTP codes that you wish to accept as valid, for this website monitor:

Once you’ve made the necessary changes, be sure to scroll down and click on the ‘Edit Monitor’ button in order to save your changes:

The instructions posted above work exactly the same when adding a new Website Uptime Monitor.
You can read more about the HTTP Codes here:
https://developer.mozilla.org/en-US/docs/Web/HTTP/Status
Please take extra care when configuring this option in your monitor’s settings, as it can cause our system to overlook possibly critical downtimes of your websites.
