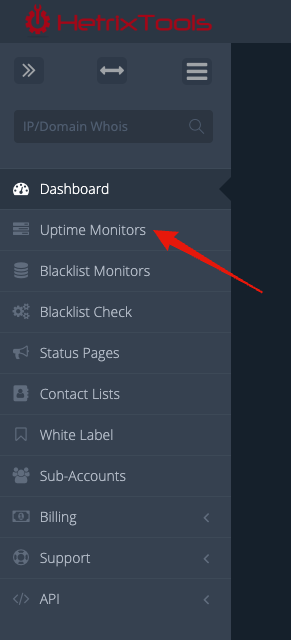
To get started, head on to your Uptime Monitors dashboard from your client area menu.
Now, locate the “Import” drop-down button on the upper right corner of the dashboard. Click it and select “From CSV” from its drop-down options.
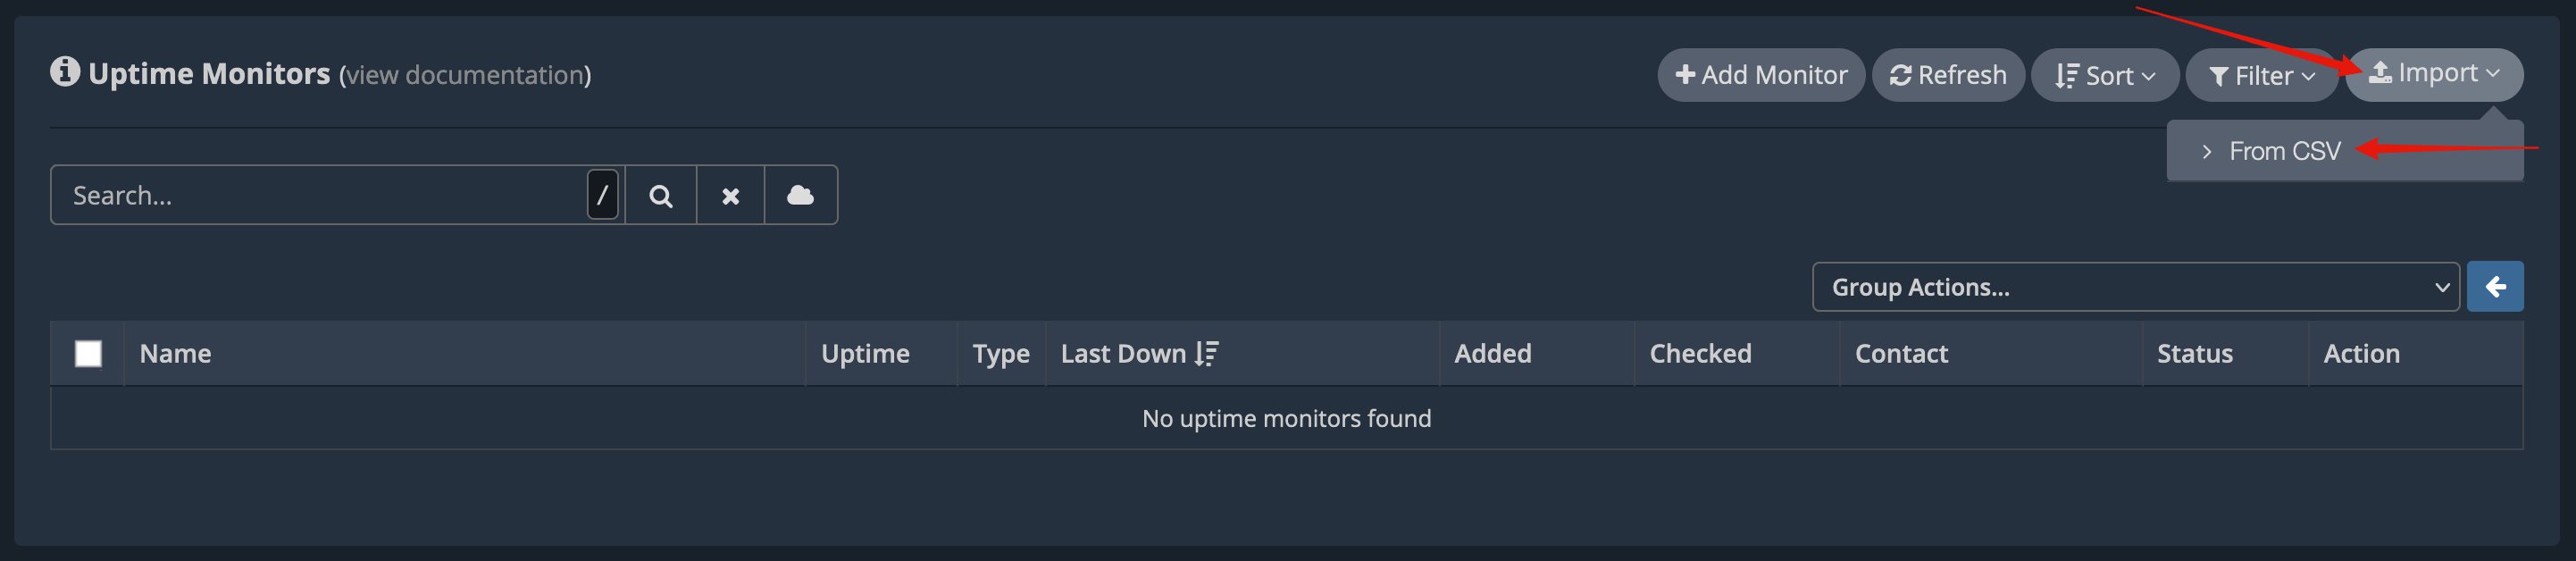
Then, just follow the three easy steps on the modal window that opens up.
# CSV file formatting requirements
Your .csv file should contain the following columns:Name,Target,Keyword,Port
- Name – The name of the Uptime Monitor.
- Target – The URL, IP, or hostname of the Uptime Monitor.
- Keyword – If you wish to monitor the presence of a keyword on your website. [for Website Uptime Monitors only]
- Port – If you wish to ping a specific port, leave it empty for ICMP Ping. [for PING/Service Uptime Monitors only]
# Third-party CSV file compatibility
Your .csv file can also be an exported UptimeRobot or StatusCake .csv file; in such a case, you don’t need to change column names to match the schema mentioned above.