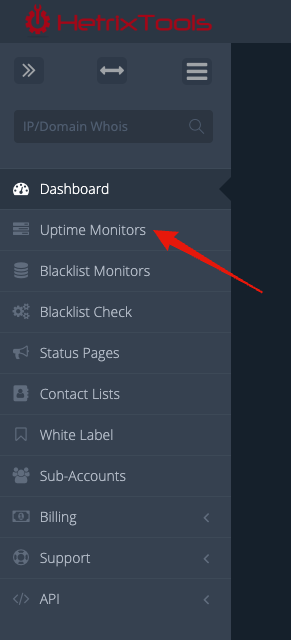
Start by going to your Uptime Monitors dashboard from your client area menu:
Locate the Uptime Monitor you wish to edit the setting for, and click on the ‘Edit’ button:

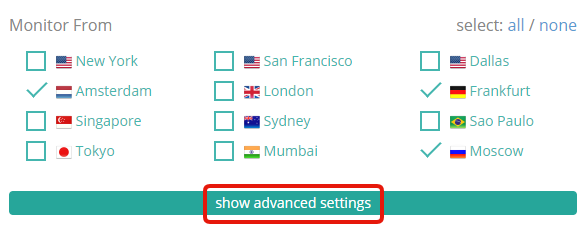
In the Uptime Monitor’s settings, locate the ‘show advanced settings’ button towards the bottom, and click on it to expand the advanced settings:
Now locate the ‘Verify SSL Certificate’ section and select the option to verify the SSL certificate:

Last, but not least, save the Uptime Monitor settings by clicking the ‘Edit Monitor’ button located at the bottom of the settings popup modal: