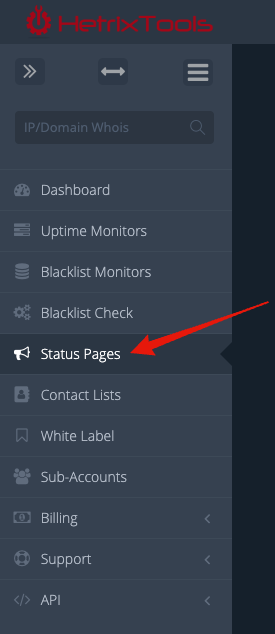
Start by accessing the Status Pages dashboard from your client area.
![](https://docs.hetrixtools.com/wp-content/uploads/2021/08/1e33a0f964876745fd90f8941666708d.png)
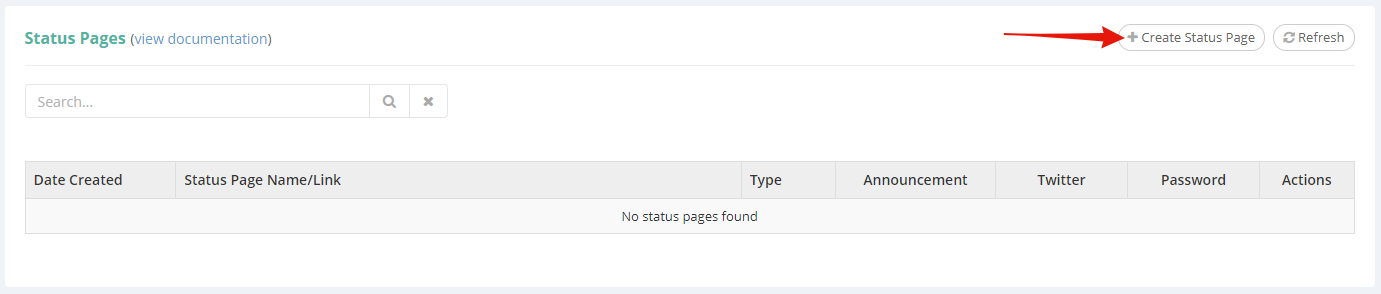
Click the “Create Status Page” button.
![](https://docs.hetrixtools.com/wp-content/uploads/2021/09/ce3188d71f9eff292dd7f7e5b540c5c4.png)
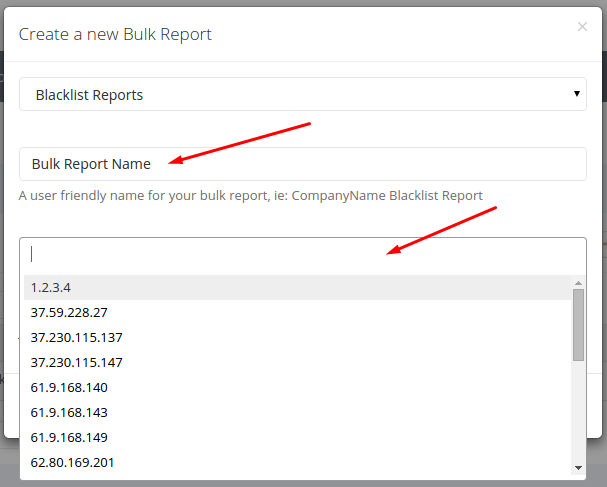
In the pop-up, be sure to select the type of monitors you wish to include on your Status Page.
![Screenshot_3](https://docs.hetrixtools.com/wp-content/uploads/2015/12/Screenshot_3-1.png)
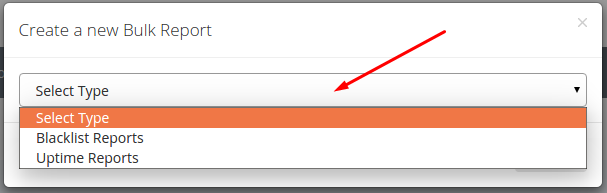
Give a friendly name to your Status Page and select all of the monitors you wish to include from the drop-down.
![Screenshot_4](https://docs.hetrixtools.com/wp-content/uploads/2015/12/Screenshot_4-1.png)
When done, just click the “Create” button.
![Screenshot_5](https://docs.hetrixtools.com/wp-content/uploads/2015/12/Screenshot_5-1.png)
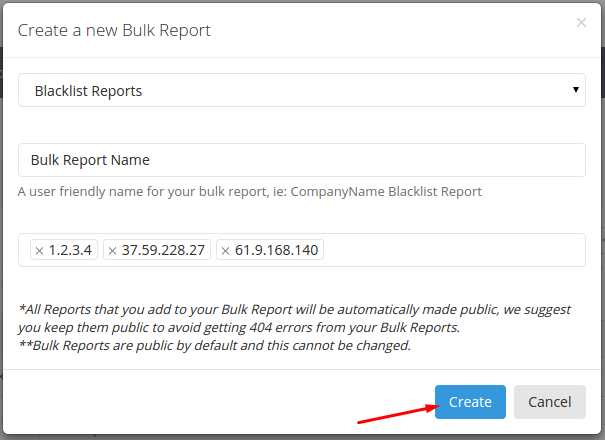
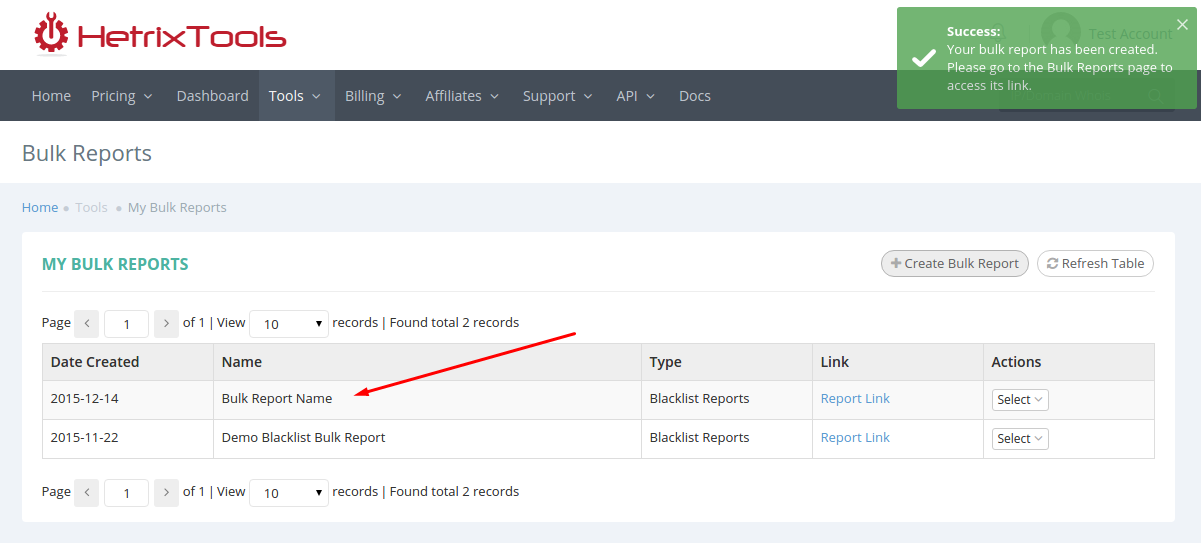
Your Status Page has now been created.
![Screenshot_6](https://docs.hetrixtools.com/wp-content/uploads/2015/12/Screenshot_6-1.png)